The following is an analysis of the differences between a three coordinate measuring instrument and a profiler in terms of structure and use:
Structurally,
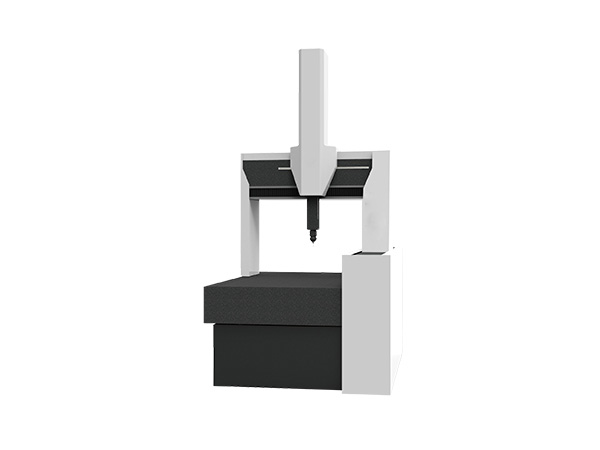
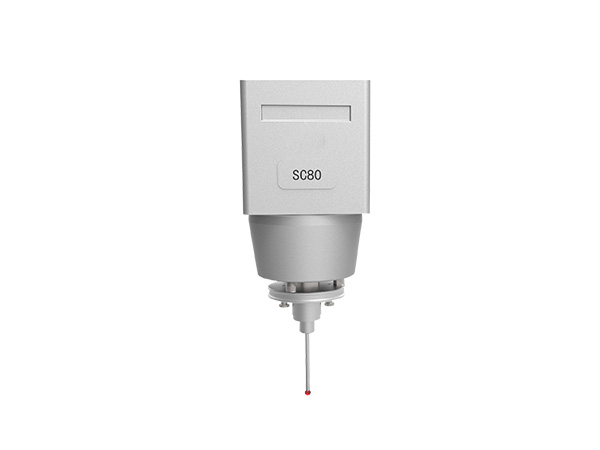
The CMM is mainly composed of: 1. mechanical system, 2. probe system, 3. electrical control hardware system, and 4. data processing software system. Structure of the profiler:
The profiler consists of a granite flat plate, a workbench, sensors, a drive box, a display, a computer, and a printer. During measurement, different positions of the measured parts can be selected, and various measurement lengths can be set for automatic measurement. Sampling data within the evaluation section can reach tens of thousands of points. It can also display or print contour shapes and dimensions, various roughness parameters, and contour bearing length ratio curves.
In terms of purpose,
CMMs can measure mold products, electronic products, communications, automotive, and many other industries, and have been widely used in aerospace, automotive, electronics, mold, and other industries. In a factory, its use is indeed very extensive, but its price is also not cheap.
The profilometer can measure the roughness and contour shape parameters of various precision mechanical parts. Use the fitting method to evaluate circular arcs, straight lines, etc. Thus, shape parameters such as arc radius, straightness, convexity, trench center distance, inclination, vertical distance, horizontal distance, and steps can be measured. The instrument can also test the surface roughness of various parts; It can test the roughness of plane, inclined surface, outer cylindrical surface, inner hole surface, deep groove surface, circular arc surface, and spherical surface, and achieve various parameter measurements.


